
As promised here is an assortment of what I was able to make this week. As I mentioned in yesterday's blog, I had to watch quite a few videos on Youtube before getting a feeling I should try what was show, no less than in the Russian language at that. The videos were very clear to see although I don't know one word of Russian, at least not yet.
So without no further due, here are the few photos I have to share with you today:

This blue pendant was one that I totally improvised from scratch. I had to give this a try as I wanted to try my new toy, *Sculpey's Clay silk screen kit. Folks if you are into clay, get this product as it has gorgeous patterns for jewelry making. It is under $20 and if you have a Hobby Lobby near you, use your 40% coupon. It is worth it. It also comes with a bottle of metallic gold and one of silver and a spatula to spread the paint onto your polymer clay piece as well.
The other product I am ranting and raving about is the *Lisa Pavelka's MAGIC-GLOS product also found at Hobby Lobby and many online clay related stores. This resin cures in the sun in 5 minutes or if you have a UV lamp machine at home you can use it to cure your clay without getting dust on it. It takes about 5 minutes and you get the gloss you dreamed of. I am not being paid to tell you this by the way.
*See product photos at the bottom of this email.


This pendant I saw as a picture on Pinterest, I really loved the look of it, so I decided I would make my own altered version of it.
The few techniques used on this pendant made me aware that I can indeed make a piece of clay look aged. The back piece started in brown and I used a coarse sand paper to add texture to it. Then used some green brown and black acrylic paint and aged as well as adding some mica powder of different colors to look artsy.
The wrinkled look gold layer was easily made by cutting a circle the size I needed, then added corn starch to both sides until it is not tacky and scrunched the piece in my hand (not too hard) and unfolded it to the desired look and once baked I added a Sculpey Glossy coat with a small paint brush. That easy!
The next layer was made using a small circle cutter putting clay on the top end of it, pushing gently the clay inside the circle cutter to form a dome shape. Once the dome is to your liking, leave the dome intact but cut the leftover clay on top making sure the dome is not disturbed. I then added some mica powder in the center of the dome before baking it. (note: The mica powder will bake into the clay making it so it won't come off after baking)
Last gold layer looking like a mini button, Roll a ball of clay to the size you need and press gently with your thumb into the dome. With a soft brush add the mica gold on it and bake with the blue piece according to your clay baking instructions found on the package.
Putting the layers together was done with crazy glue or jewelry glue can also be used. This was really fun to make.


This one was inspired by the FIMO TV on You Tube. I was fascinated by the look of the finished pendant so I had to absolutely try it. The worst that could happen was failing, but I wasn't giving up so easily. The video is in Russian, but the visual was awesome.
I made mine with copper mica powder on brown clay. The inverted dome was made the same way as the previous instructions up above. This was tricky to take pictures of this pendant but if you watch this video, have fun.
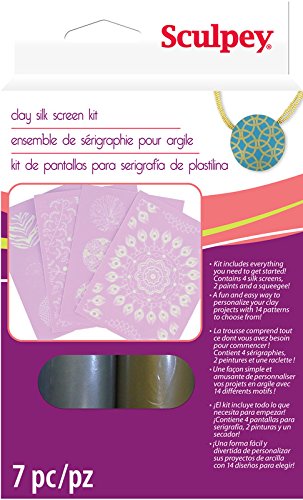
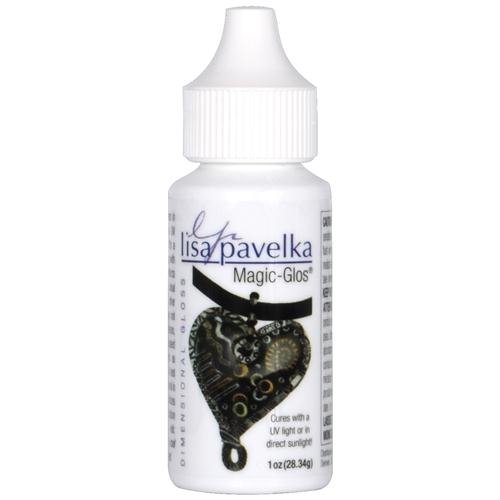
There are the products I mentioned for the first pendant up above. These can be found on Amazom.com as well
Have a great day
Hugs
Nicole

No comments:
Post a Comment